
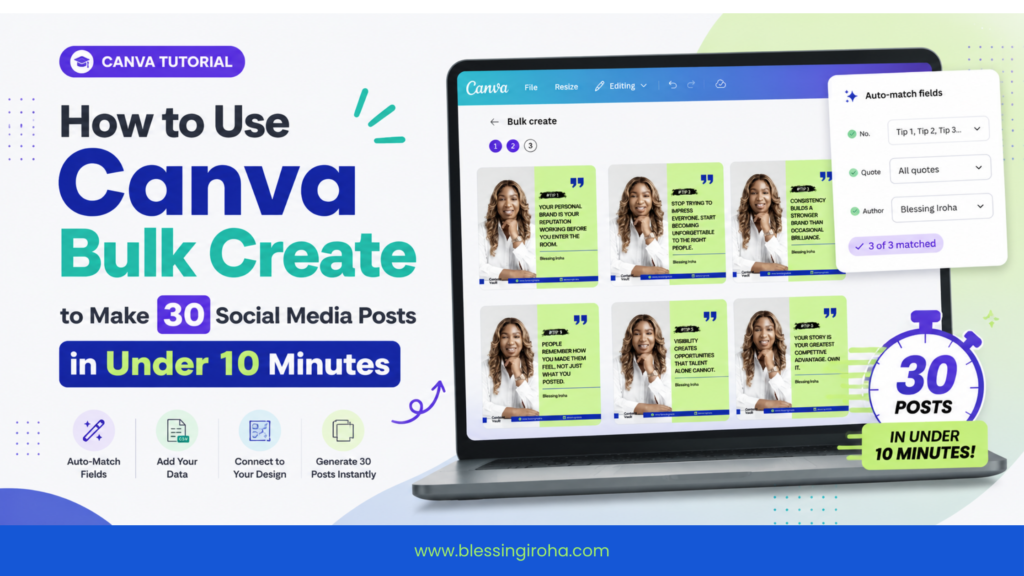
How to Use Canva Bulk Create to Make 30 Social Media Posts in Under 10 Minutes
If your content creation routine involves opening a Canva template, manually typing in a quote, downloading the image, and repeating that exact same process 30 separate times—you are losing hours of your life to unnecessary admin work. Batching content shouldn’t feel like a full-time job. Yet, for thousands of creators, educators, and business owners, the manual copy-and-paste loop is the single biggest bottleneck standing between them and consistent social media growth. Here’s the game-changing secret: you don’t have to design your posts one by one. Inside Canva lies a quiet, built-in automation engine called Bulk Create. By connecting a simple spreadsheet or data table directly to your visual placeholders, Bulk Create allows you to generate dozens—or even hundreds—of custom, on-brand graphics in a single click. As someone who relies on smart systems to keep a high-frequency posting schedule running smoothly across platforms, this tool is my ultimate secret weapon against creator burnout. It transforms hours of repetitive editing into a fast, effortless 10-minute task. In this step-by-step guide, I’m putting a timer on the clock. I’ll walk you through the exact process to prepare your data, connect your template elements, and bulk-generate 30 polished social media posts in under 10 minutes. Prefer to watch the clock run in real time? Watch the step-by-step video walkthrough below to see how to set up Bulk Create from start to finish! Phase 1: Preparing Your Content Engine (Minutes 0–3) Before you touch Canva, the secret to lighting-fast bulk generation lies in organizing your text upfront. Instead of coming up with ideas on the fly, you are going to create a simple “content engine” using a basic spreadsheet. If you can type into a cell, you already have all the technical skills you need for this step. 1. Formatting Your Data (The CSV Secret) Canva’s Bulk Create tool works by reading information organized in rows and columns. To make sure the system understands which piece of text goes where, your spreadsheet needs a clear structure with distinct headers. How to Set Up Your Spreadsheet: Pro Tip for Text Length: Keep your text relatively consistent in length across all 30 rows. If Post #5 is two sentences long and Post #6 is a massive 200-word paragraph, you will spend extra time manually resizing text boxes later. 2. Exporting Your File for Canva Once your 30 rows of content are typed out, you need to save the file in a format that Canva can read in a single click. How to Download: Your file is now formatted, saved to your computer, and ready to be linked directly to your design template in Phase 2! Alternative Method (No Spreadsheet? No Problem): Don’t use Google Sheets or Excel? Don’t worry. Canva also allows you to enter data manually by typing or pasting directly into an interactive table inside the editor. However, using a saved .csv file is by far the fastest option for batching 30 or more posts at once! Phase 2: Template Architecture (Minutes 3–5) With your content engine built and saved as a .csv file, the next step is creating a layout that can seamlessly hold all 30 variations. Building a “bulk-ready” template requires a slightly different approach than designing a single post. You need to structure your layout so that text of varying lengths expands naturally without overlapping graphics or overflowing off the screen. 1. Setting Up Your Master Canvas Start by choosing the platform format you use most. Whether you are designing for Instagram, LinkedIn, or Facebook, picking the right dimensions upfront ensures every generated post looks native to the feed. How to Set It Up: 2. Formatting “Bulk-Ready” Text Boxes The biggest mistake creators make with Bulk Create is using fixed-width text boxes with left alignment. When a longer quote drops in, left-aligned text can easily expand downward off the page or crowd your lower graphics. Setting up smart text formatting ensures your template handles short and long quotes with equal elegance. The 3 Rules of Bulk Text Formatting: 3. Placing Your Data Placeholders Now, create distinct text boxes for every column header you established in your spreadsheet. How to Set Your Placeholders: Your master template is now fully architected, visually balanced, and ready for Canva to automate the heavy lifting! Phase 3: The Bulk Create Workflow (Minutes 5–8) Now comes the magic moment. With your CSV file exported and your master template architected, you are ready to connect the data and let Canva take over the heavy lifting. This phase takes less than three minutes, but it completely replaces hours of copy-pasting. 1. Launching the Bulk Create App If you haven’t used Bulk Create before, it sits inside Canva’s app directory waiting to be activated. How to Find It: Pro Tip: Once activated, the Bulk Create icon will stay pinned to your left sidebar menu for easy access in future design sessions. 2. Connecting Your Data to Design Placeholders Now you need to tell Canva which column in your spreadsheet connects to which text box on your canvas. Step-by-Step Connection Process: As each element successfully connects, you will see a purple text around your content, and when you preview, you will notice that your content has replaced your placeholder text, and a checkmark will appear next to the field name in the left panel. 3. Reviewing Your Data Triggers Before generating, Canva gives you a final preview list of all rows detected in your spreadsheet. Quick Pre-Flight Check: In a fraction of a second, Canva will automatically open a brand-new multi-page document populated with all 30 unique graphics, perfectly mapped and aligned! Phase 4: Generation & QC Review (Minutes 8–10) The heavy lifting is done! Once you click generate, Canva instantly creates a brand-new, 30-page document containing your entire post batch. Your final two minutes are dedicated to a fast Quality Control (QC) sweep to fine-tune visual variety and ensure every single post looks polished, readable, and ready for publication. 1. The Fast Quality Control (QC) Sweep While Canva’s automation is